
A rental walkthrough is a crucial step in both starting and ending a tenancy. Whether you are a landlord or a tenant, understanding the walkthrough process is essential to protecting your interests and ensuring a smooth transition. This comprehensive guide outlines what to expect during a rental walkthrough, covering everything from documentation and inspections to common issues and disputes. By understanding the key elements of a rental walkthrough, you can avoid potential conflicts and maintain a positive landlord-tenant relationship.
This article will delve into the specifics of a rental walkthrough, differentiating between the move-in walkthrough and the move-out walkthrough. We will discuss the importance of documentation, including the use of checklists and photographic evidence. Additionally, we’ll cover common problems that may arise during a walkthrough and provide guidance on how to resolve disputes effectively. By preparing for your rental walkthrough, you can safeguard yourself against unexpected costs and ensure a fair and transparent process.
Schedule the Walkthrough Before Move-In
It’s crucial to schedule your walkthrough inspection with the landlord or property manager before you officially move in. This allows you to document the condition of the property and identify any existing issues.
Coordinating the walkthrough in advance ensures both parties are available and provides ample time for a thorough inspection. Typically, the walkthrough takes place a day or two before the lease start date. This allows time to address any concerns before your belongings arrive.
Bring a Checklist and Take Notes
A thorough walkthrough is crucial for both tenants and landlords. Using a checklist helps ensure a systematic inspection and reduces the chance of overlooking potential issues. Documentation is key.
Bring a pre-made checklist that covers all aspects of the property, including appliances, plumbing, electrical fixtures, and the overall condition of the walls, floors, and ceilings. Take detailed notes of any existing damage or discrepancies.
Supplement your notes with dated photographs or videos as visual evidence. This documentation protects both parties and can be invaluable if disputes arise later.
Inspect for Existing Damage
A crucial step in the walkthrough is documenting any pre-existing damage. This protects you from being held responsible for issues you didn’t cause. Carefully examine every aspect of the property.
Key areas include walls, floors, ceilings, appliances, fixtures, and windows. Look for scratches, dents, stains, cracks, or any signs of wear and tear. Note the condition of paint and carpets.
Document everything thoroughly.
Test Appliances and Utilities
A rental walkthrough provides the opportunity to confirm all appliances and utilities are functioning correctly. Don’t hesitate to test everything.
Key items to check include the oven, stovetop burners, refrigerator, dishwasher, microwave, washer, and dryer. Run the faucets in the kitchen and bathrooms, checking both hot and cold water. Flush the toilets and inspect for leaks.
Test all light switches and electrical outlets. Note any discrepancies or malfunctions on the walkthrough checklist. This documentation protects both you and the landlord.
Check for Mold or Water Damage
A thorough walkthrough includes checking for signs of mold or water damage. Mold can appear as fuzzy spots in various colors, often black, green, or white. Look for it in areas prone to moisture, such as bathrooms, kitchens, and basements. Pay attention to musty odors, which can indicate hidden mold.
Water damage can manifest as stains on walls or ceilings, bubbling paint, or warped flooring. Check under sinks for leaks and examine windowsills for signs of water intrusion. Documenting any existing damage is crucial to avoid future disputes regarding responsibility for repairs.
Review Smoke Detectors and Locks
During the walkthrough, test all smoke detectors to ensure they are functioning correctly. Landlords are legally obligated to provide working smoke detectors, and tenants should verify their operation for safety. Report any malfunctions to the landlord immediately.
Check all locks on doors and windows to ensure they are secure and functioning properly. This includes deadbolts, doorknob locks, and window latches. Report any issues to the landlord so they can be addressed before you move in.
Photograph Each Room
Document the condition of each room by taking clear photographs. This includes the walls, floors, ceilings, fixtures, and any existing damage. Pay close attention to areas that might be prone to wear and tear.
Ensure adequate lighting when taking photos. It’s advisable to take multiple photos from different angles to provide a comprehensive view of the room’s state. This photographic record will serve as crucial evidence should any disputes arise later regarding the property’s condition.
Clarify Any Maintenance Promises
During the walkthrough, confirm any verbal agreements about maintenance responsibilities. This includes who is responsible for tasks such as pest control, lawn care, appliance repair, and snow removal.
Document these agreements clearly in the lease to avoid future disputes. If the landlord promised to fix a leaky faucet or repaint a wall before you move in, ensure this is explicitly stated in writing. Don’t rely solely on verbal promises.
Confirm Move-In Date and Keys
Once you’re satisfied with the walkthrough, finalize your move-in date with the landlord or property manager. Ensure this date aligns with the lease agreement.
Confirm the key exchange process. Will you pick them up at a specific time and place, or will they be provided upon your arrival? How many sets of keys will you receive? Clarify these details to avoid any last-minute confusion.
Request a Signed Inspection Report
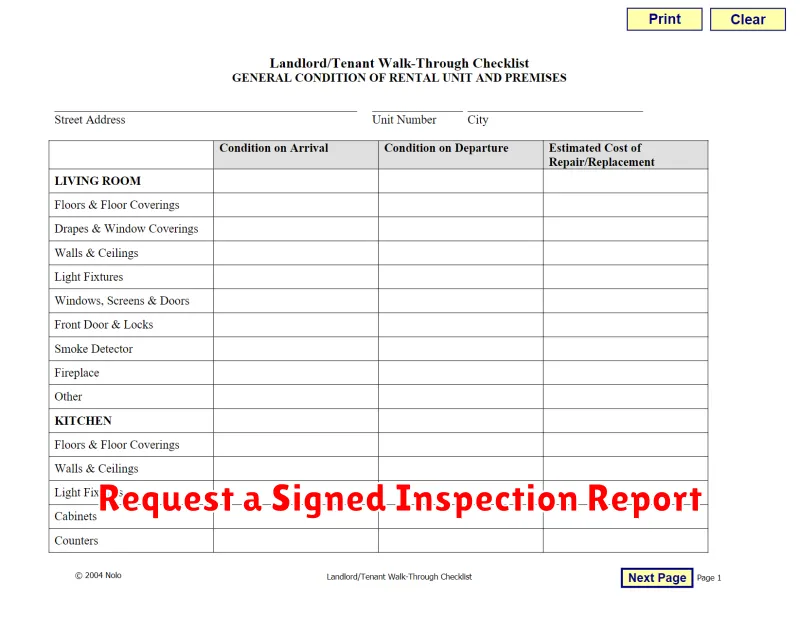
After the walkthrough, request a signed inspection report from the landlord or property manager. This document should meticulously detail the condition of the property, including any existing damage. It protects both you and the landlord from disputes regarding pre-existing issues.
Ensure you review the report carefully before signing. Do not hesitate to add your own observations or amendments if you disagree with any part of the report. A signed and agreed-upon report provides a crucial reference point at the end of your tenancy.
Keep a copy of the signed report for your records. This documentation will be invaluable should any discrepancies arise regarding the property’s condition upon move-out.